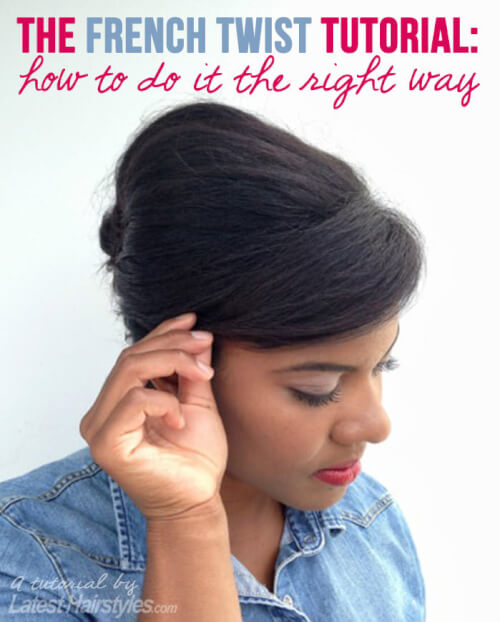
Hi beauties! I’m Carina from carinaconnelly.com and today I am sharing my secrets to create the perfect French twist. French twists are the epitome of classic glamour (think Audrey Hepburn in Breakfast at Tiffany’s) and are the perfect alternative to the top knot or sock bun. And, with the holiday season on the horizon, French twists are the perfect pairing for a dressy evening out.

How To Style:
- Placing thumbs on the corners of forehead, slide them back (toward crown) until they meet to separate off a section of hair. Clip that section off.
- Gather bottom section into a low ponytail and twist it up towards the crown.
- Secure twisted ends with bobby pins, but don’t place any bobby pins in the center of the twist. We’ll need to fill out the twist later.
- Release the top section you created in step one.
- Backcomb the crown area and gently smooth it over.
- Gather the top section into a ponytail, just under the crown.
- Gently twist top section and stuff the top section’s ends into the twist.
- Secure the twist with bobby pins, placing them from the bottom of the twist to the top.
- Mist hair with a flexible hold hairspray.
Watch The Video:
Styling Tip:
The French twist can be a little tricky to master, especially the first time. Just take your time and be patient. It’s also easier to create a French twist (or any up style for that matter) when your hair has a little bit of grit to it. Try creating it on the day after you wash it for the best hold. Or, if you have no time to wait, try adding a bit of dry shampoo to your roots and ends for instant grit. To make your twist even bigger, add a few clip-in extensions to the bottom section to create a bigger, fuller French twist.
I hope you’ve enjoyed this simple French twist tutorial! For more beauty chit chat, reviews and tutorials, come hang out with me over at carinaconnelly.com.